01772 440340
info@dcmsurfaces.com
☰
About Us
Company News
Case Studies
Videos
Specify DCM
Downloads
Charity
Contact
PRODUCT PORTFOLIO
×
Playground Surfacing
=> Wetpour Surfacing
=> Rubber Mulch
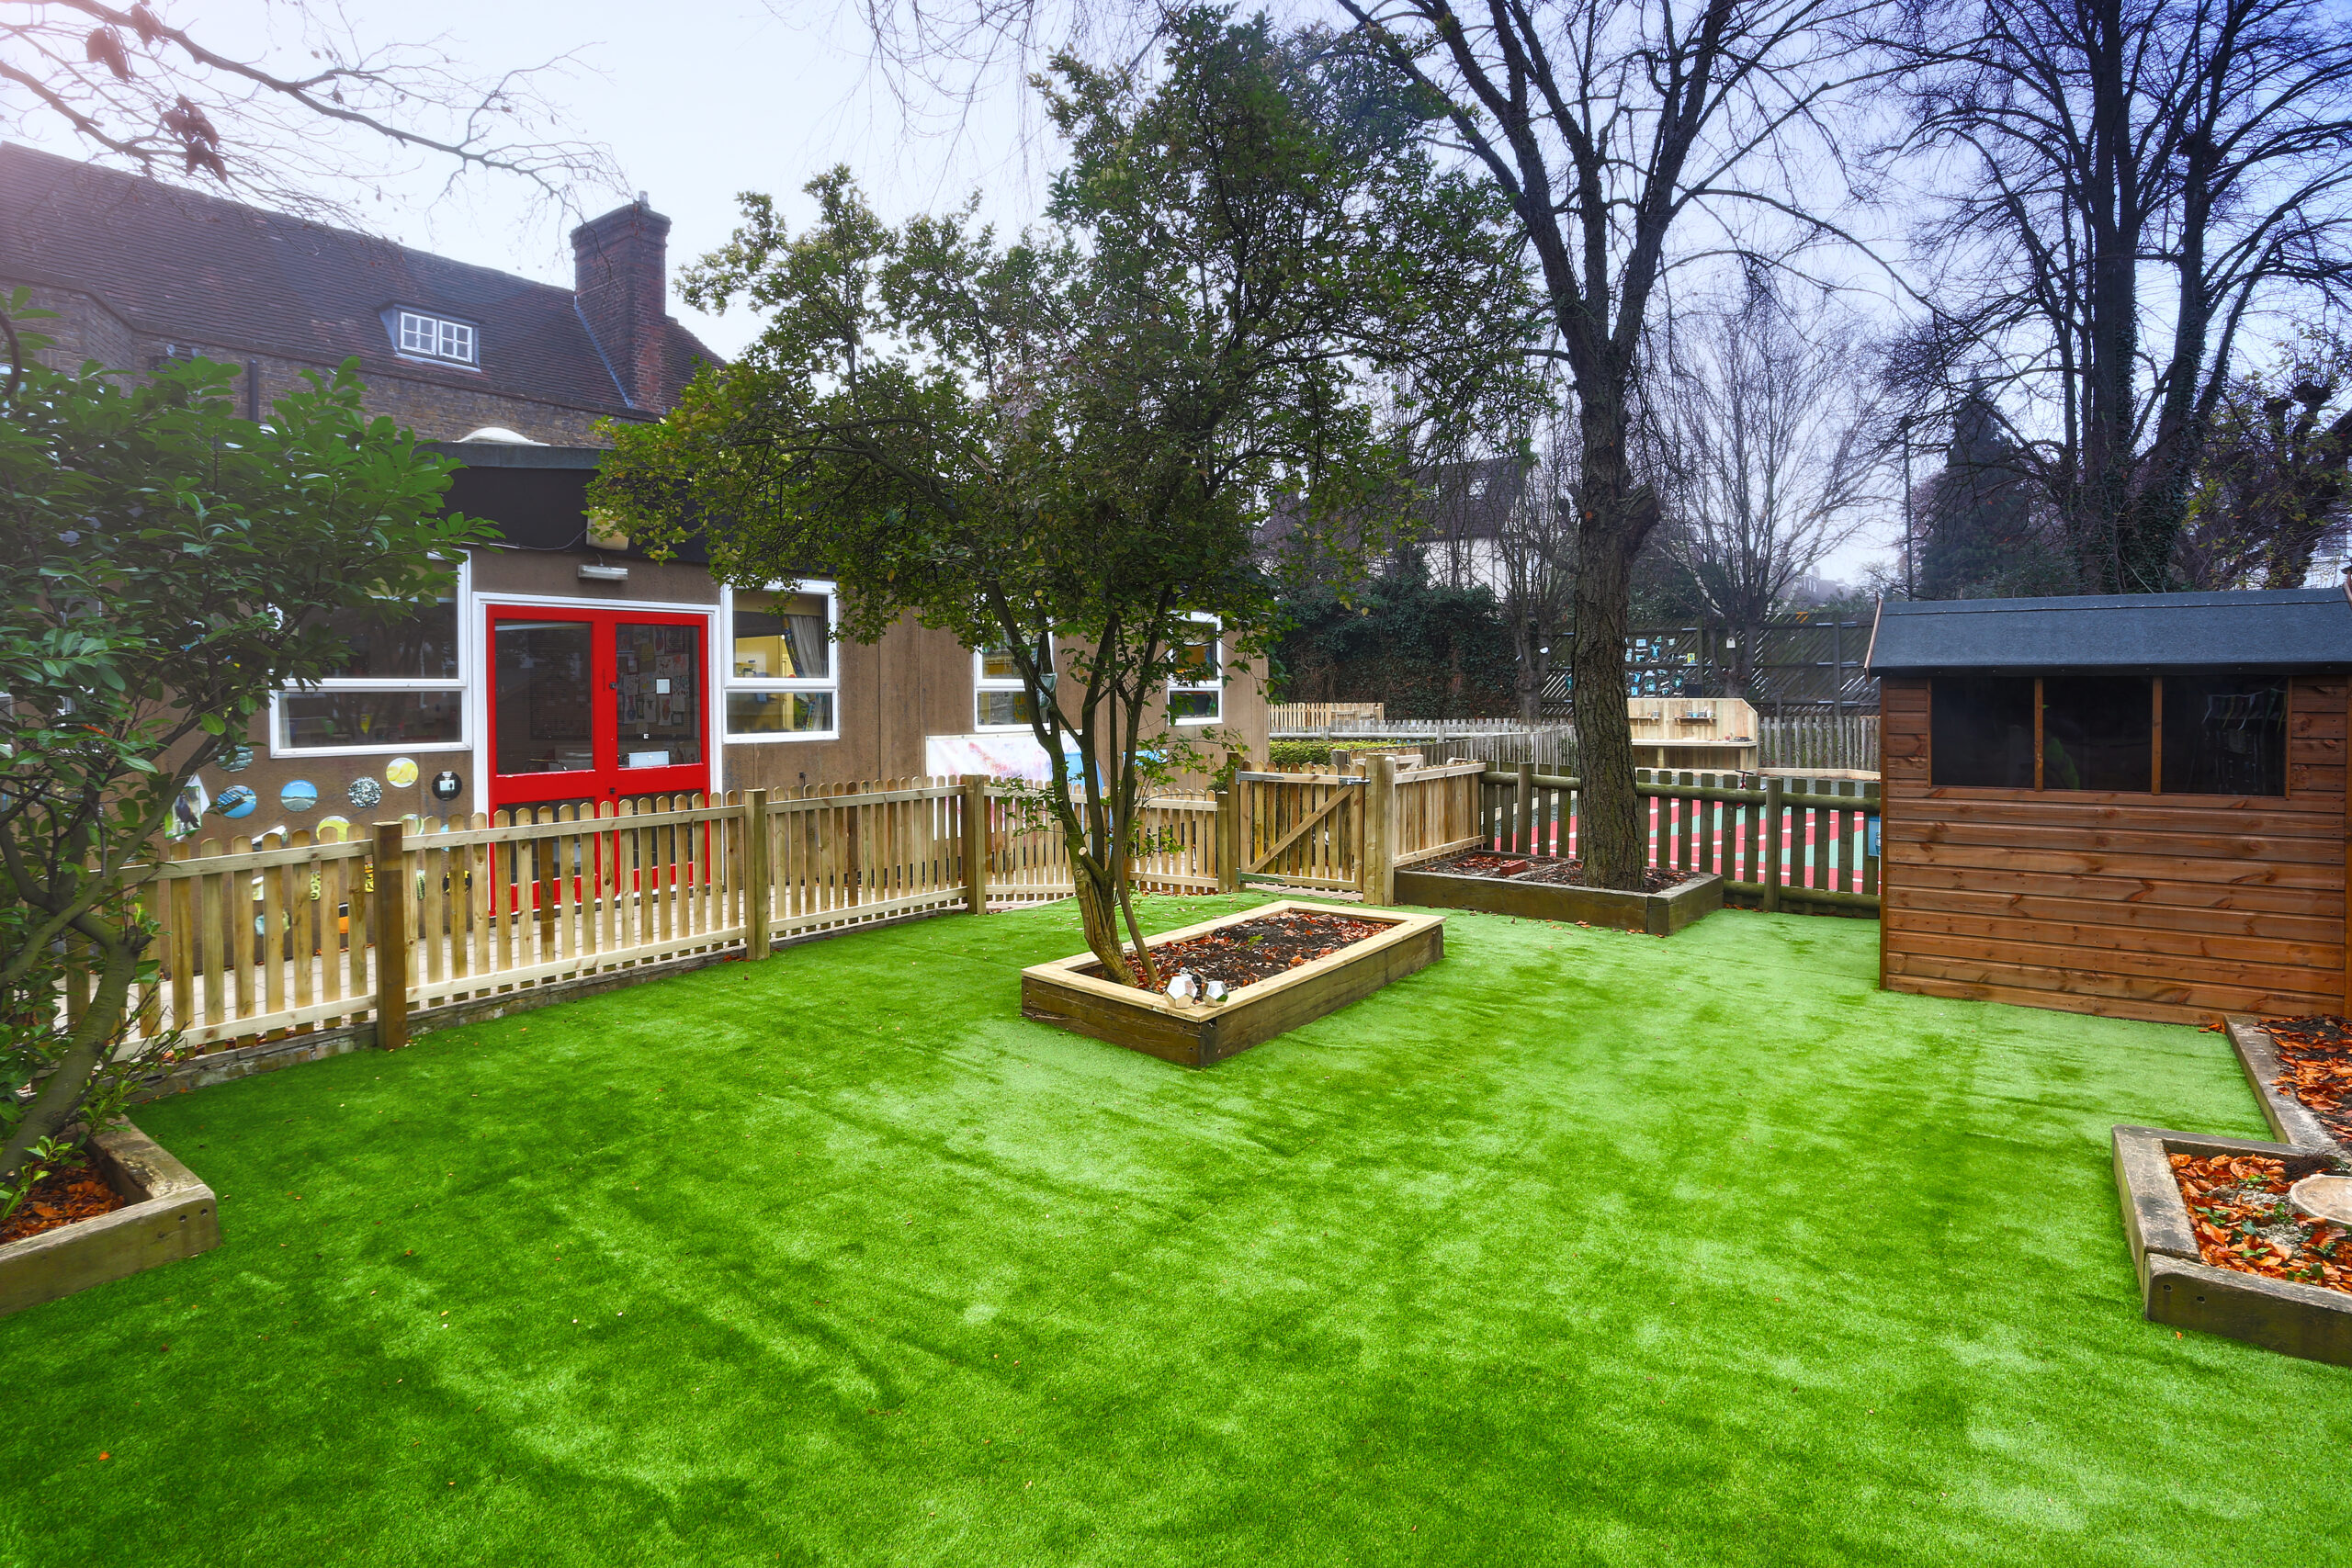
=> Artificial Play Grass
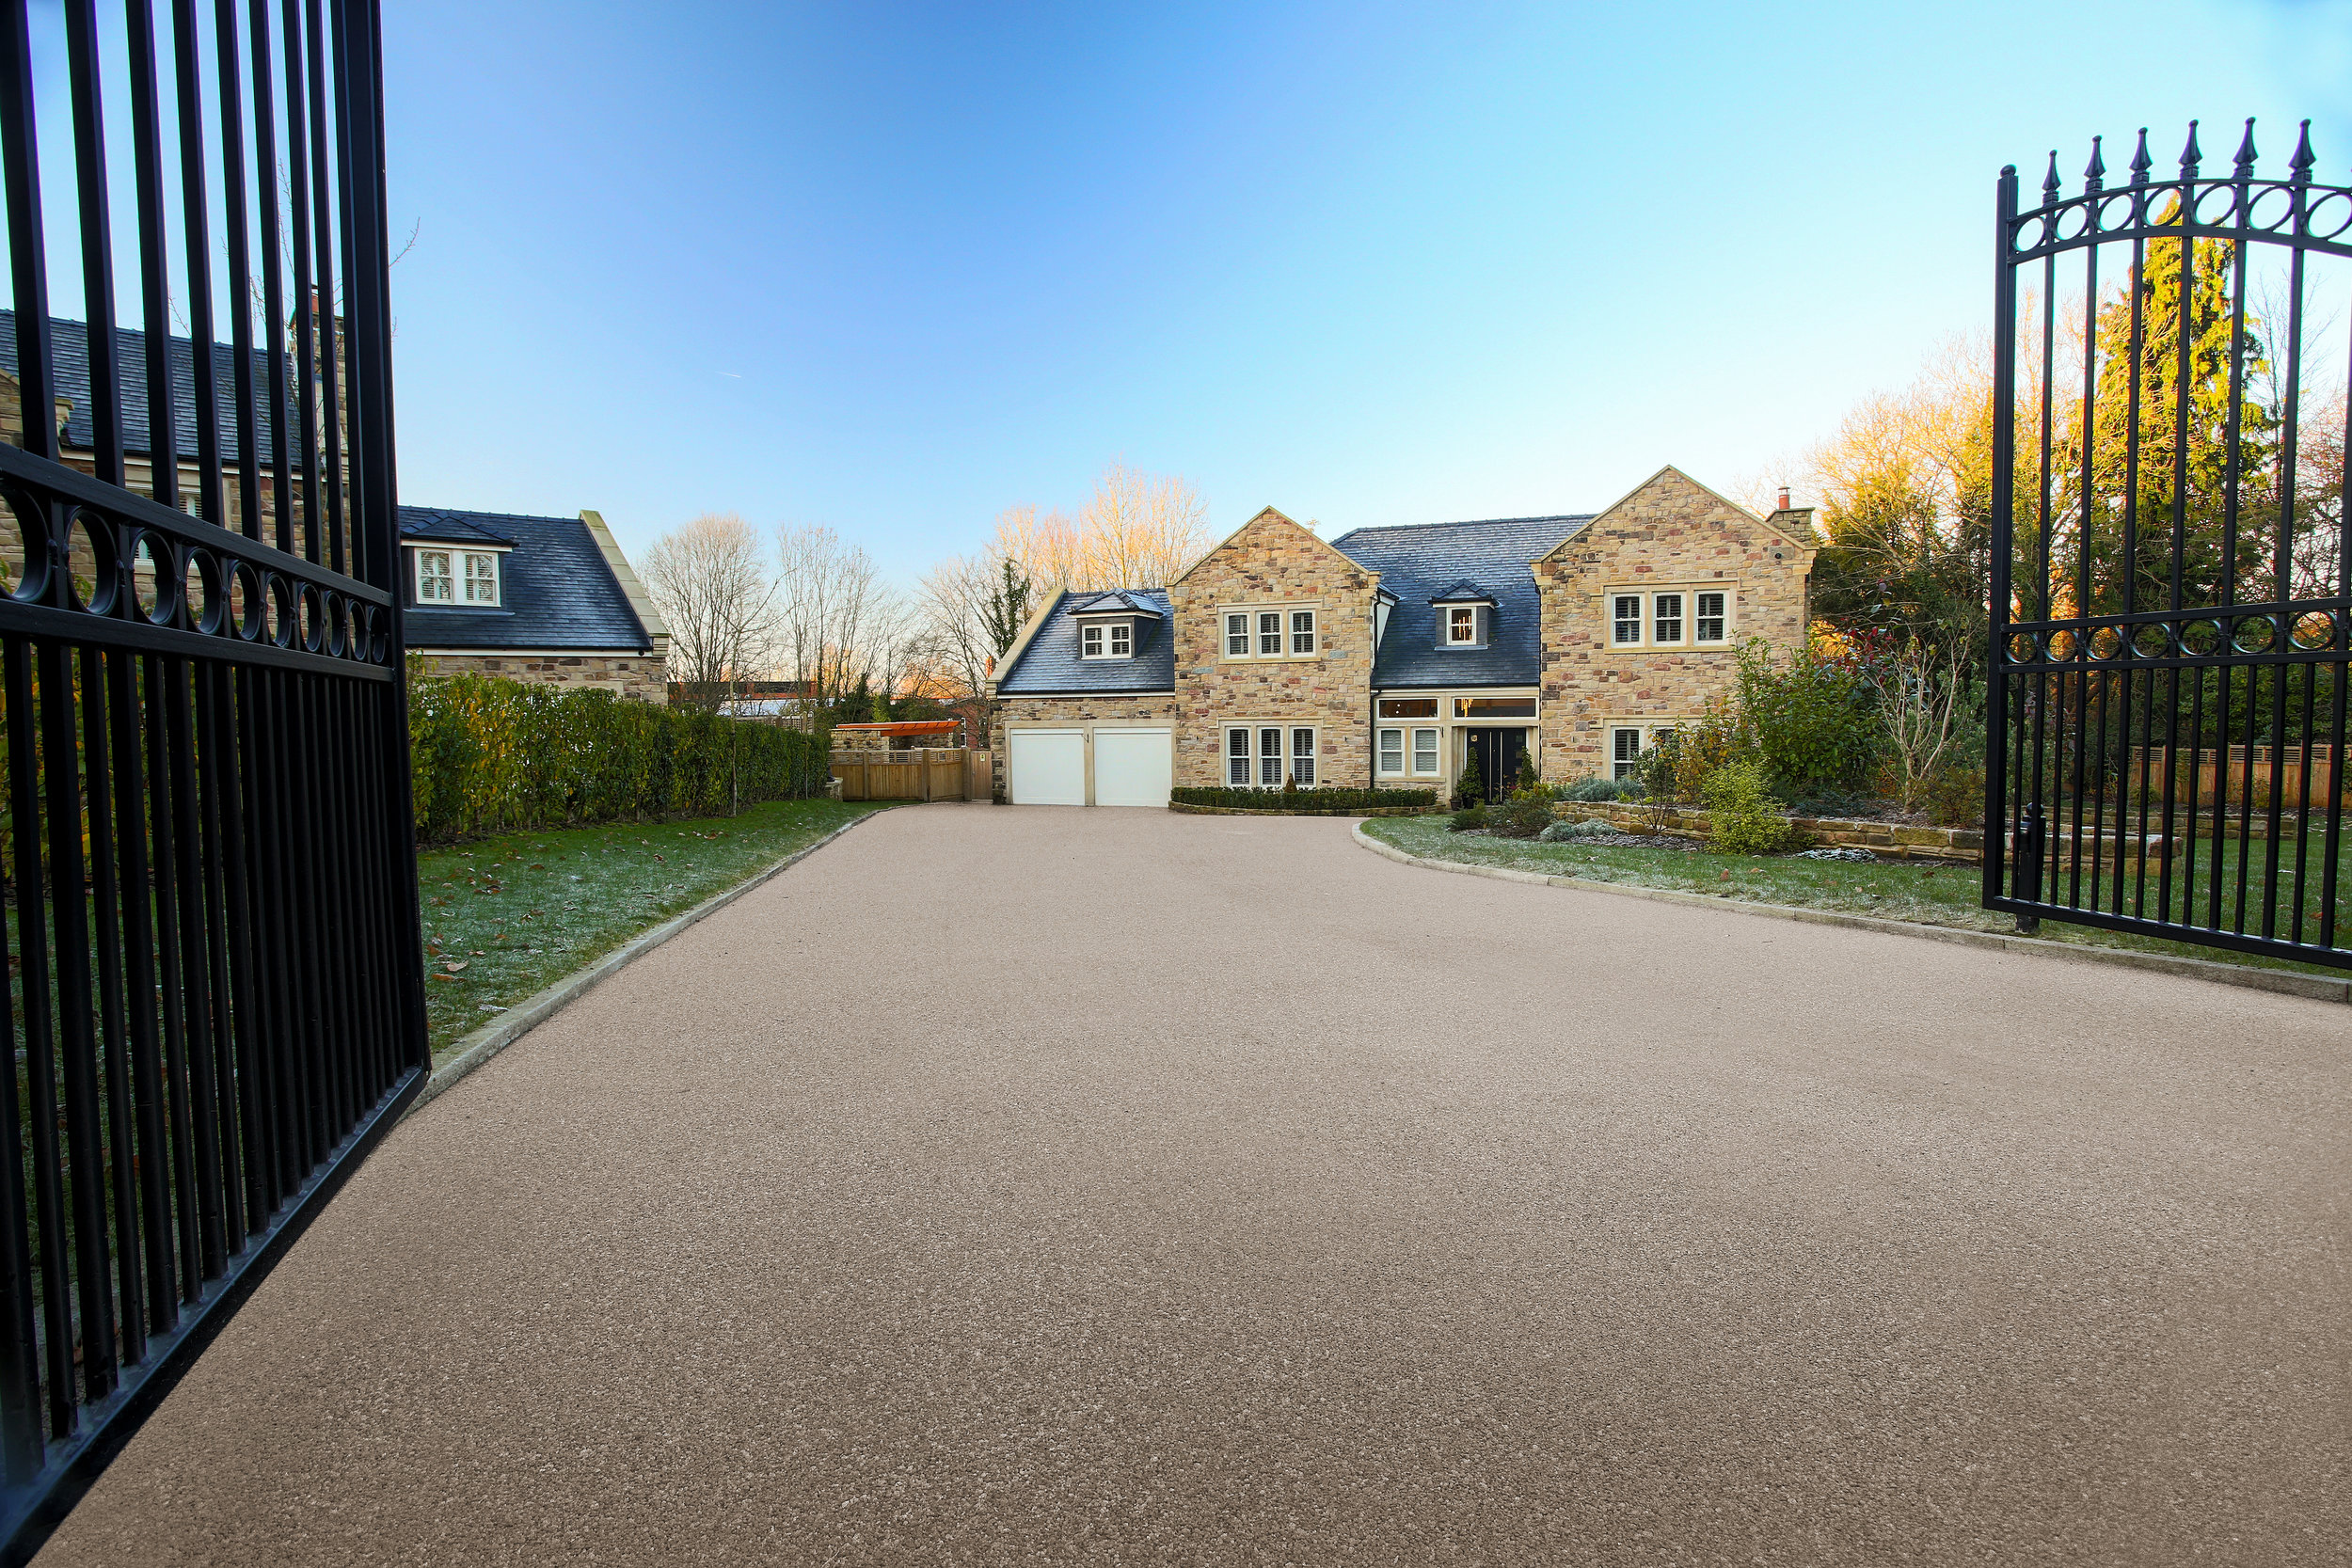
Driveways
=> Resin Bound Gravel
=> Resin Bonded Gravel
Footpaths
=> Rubber-Gravel Mix
=> Self Binding Gravel
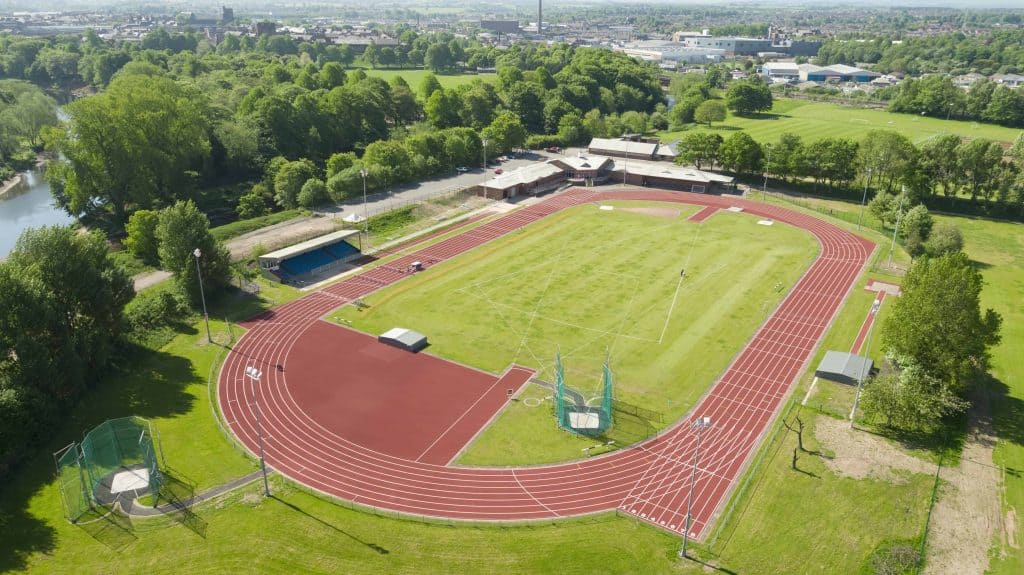
Sport Surfaces
=> Daily Mile Tracks
=> Multi-Use Sports Surfaces
=> Artificial Sports Grass
Landscapes
=> Rooftop Surfacing
=> Artificial Landscape Grass
Install Guide
Groundworks
Search
Search